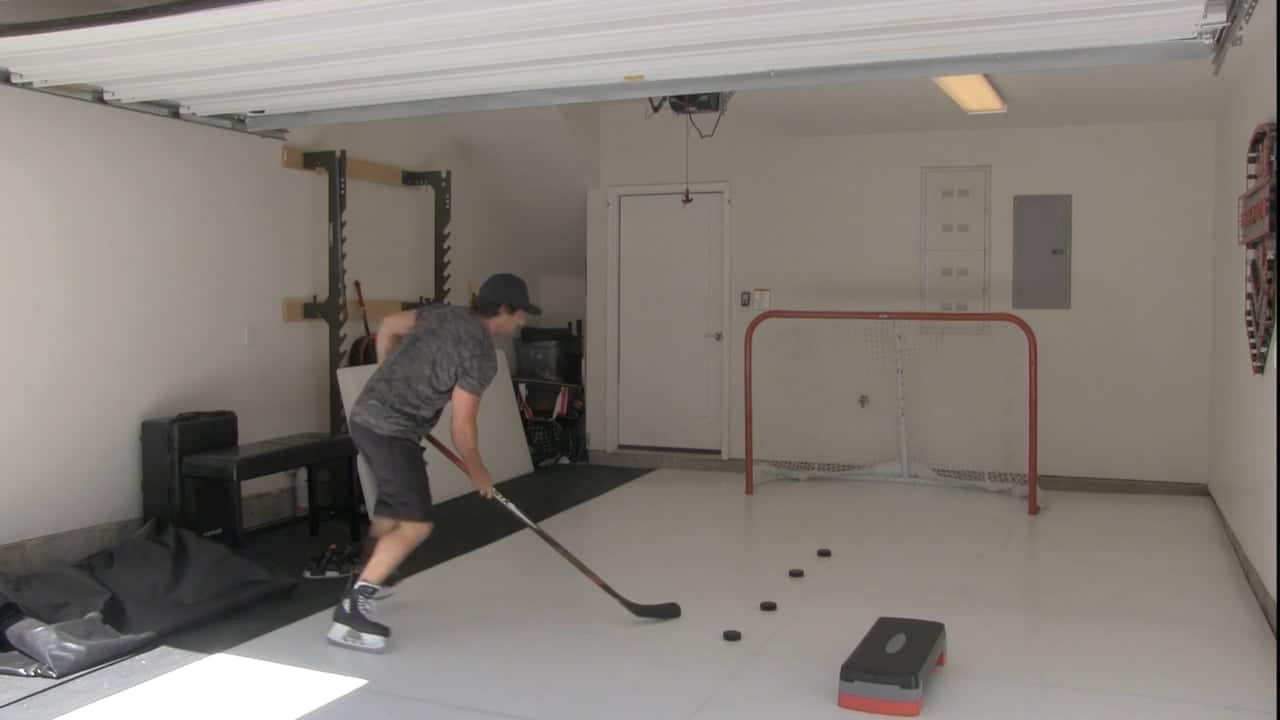
If you’ve recently purchased some hockey flooring you may be a little confused as to how to install it. Many companies are good about making the instructions incredibly clear, but other companies aren’t quite as good about it. We’re here today to try and help you figure out the best way to approach getting this set up in your garage so that you can do so with confidence. It can be a pretty quick and easy process if you follow the directions and don’t have a large surface you’re looking to cover.
If you do have a larger surface for the flooring, it won’t be any more difficult but it will take more time. We might even recommend bribing a couple of friends with pizza if you have a lot of tiles to get set up. That way it won’t take you too much time and it’s also a good excuse to have your friends over for a bit. If our instructions aren’t any more clear than the ones that came with your tiles, you could always search for videos of how to put it together as a last resort. Many companies are kind enough to provide such a service for their customers.
Map Out the Area Where You Want Your Tiles
This step is incredibly important if you want to make sure that your dryland tiles go exactly where you envisioned them and should usually take place before you even make your purchase. Whether or not you did this step that early on doesn’t matter because it’s going to be your first step for setting it up. Many people often use measuring tape to measure out the right area, with some people going so far as to use painter’s tape to mark the area where the rink is going.
This part is important because it gets you thinking about strategy. Assembling your dryland hockey tiles is a lot like a game of Tetris except for all of the blocks are squares. That makes planning out how to lay out the tiles pretty simple, but the next steps are going to be a lot easier if you already know exactly what the space you’re looking to fill looks like. This step also makes it easier if you have friends helping you so that they know exactly where the boundaries of the rink are supposed to go.
Set Up Some Supports
Your tiles may be strong on their own, but if the floor is unlevel in any way it can lead to the tiles coming undone and that’s not good for anyone. Even the contraction joints in the concrete in your garage can be enough to cause a bit of an issue. The unevenness of the floor will make hitting the puck around a lot harder, and if one of the tiles comes up while you’re practicing you’re going to have to pause to fix that before you’re able to continue on with your training.
Unfortunately, most hockey tile manufacturers don’t include these supports. Fortunately, it’s not too expensive to get and really only requires a trip down to your local construction supplies store. For this step, you’re going to need to get a sheet or multiple sheets of plywood. This part will be easiest if you already know the dimensions of the space you’re filling. Depending on the size of your rink, you’re going to need multiple pieces of plywood. Make sure that you get enough to cover the entire area that the tiles are going to cover so you can have optimum support.
Once you have your plywood, just lay it out in the area where your tiles will go. Make sure that all of the boards are snug next to each other so that there are no large gaps. If you want to be extra cautious you can tape the boards together using duct tape. Some people will go so far as to glue the boards together, but we can’t recommend this unless you’re positive that you’re never going to have to remove the plywood because gluing the whole thing together will definitely make it a lot more difficult when you need to move it out.
Assembling the Flooring
Now that you’re got the space that needs to be filled measures and market and your support board is set up, it’s time to move to actually assembling the tiles. This part is actually very simple, but you could potentially have to spend a lot of time on it depending on the actual size of the area that you plan on filling up. The first thing you’ll want to do when you get to this step is start opening your tiles and removing them from the packaging. We find that it’s a lot faster if you don’t have to dig into the packaging every thirty seconds for new tiles.
After that, just start laying the tiles out where they’re supposed to go. The tiles are square and designed to interlock, so you just have to make sure that you’re locking them together properly. You can really build your rink in any way that you like. If you want to go side to side, cover a whole area, or use the puzzle strategy it will all work just fine. That makes this even easier because the part that you need to put the most thought into is already taken care of long before you get to this step.
If you purchased any of the colorful pieces to surround the flooring this would also be the time to add them in, but you’ll want to be sure to save any other decorative items for after you’ve finished this step. This is because without the flooring being set up all the way, you’ll have an exceedingly hard time getting most decorative items set up. If you don’t have any decorative items, this is the last step in your assembly process. Otherwise, continue on with us to the next section.

Add In Your Decorative Items
Many people consider for this to be the most fun part. Now, do you absolutely need to add decorative items to your little home rink? No, it doesn’t affect anything other than aesthetics. Do decorative items add a little je ne sais quoi to your home rink? Absolutely, and you have many items to choose from for this part. It’s not uncommon for people to order a cardboard cut out of a goalie to enhance the feeling of their rink, and many people also get some colorful tiles to spruce things up a little bit.
Ultimately, what you do with your little home rink is up to you. The possibilities are endless, being only limited by your imagination. Do you want something a little more pirate-themed? Get yourself some pirate decor. You could even use a cardboard cut out of a pirate as a goalie if you wanted to. Just make sure that whatever you use to decorate your rink is going to be safe if the person practicing falls on them. That’s important, we don’t want to have any injuries from practicing. Let’s save those for real games when it feels more rewarding to get injured. In case it wasn’t clear, that last sentence was a joke. Let’s avoid getting injured altogether if at all possible.
Now That We’re All Set Up, There’s Nothing Left to do but Train
After going through the process of getting your dryland hockey tiles set up, you’ll have a little rink available in whatever area you decided to set it up. Most likely you’ve chosen your garage if you’ve ended up reading this article, but some people may have stumbled upon this article looking for help setting up their tiles elsewhere. The process for setting up your tiles in your backyard and setting them up in your garage is identical, so anyone could still benefit from our instructions.
After you have it all set up, all that’s left to do is use the flooring. Whether you’re hopping onto the flooring to hit the puck around for a while or you set it up for one of your children, once the tiles are set up properly they can be used for training. Most drills can be run on your flooring that can be run on real ice, just remember not to put on your ice skates so you don’t accidentally ruin the tiles.
Get The Most Out of Your Hockey Tiles
Getting in training for hockey can be both incredibly fun and incredibly rewarding. Using hockey tiles to train your skills can help you a lot more than you might realize. Whether you’re new to the game or you’ve been playing for most of your life, the skills that you train on your hockey flooring can help you bring your game to an entirely new level. Fortunately enough, setting up your hockey tiles is a relatively easy process that can be completed pretty quickly.


